This is my final board for A04. This is not the original board I printed out for the review. I wanted to make some changes before I posted it on the blog. After pinning up my original board and looking at what I had for my portfolio, I realized that I like white space. A lot. So I tried to maximize the space that I had on the board and use it to the fullest. I also took some of the critics advice about the sizes of my images. I know my Grasshopper script is a little fuzzy around the edges but the big white box around it looked worse. I've finished up my portfolio for this class as well and can see how far I have grown since the beginning of the semester.
Monday, May 19, 2014
Wednesday, May 7, 2014
A04 Process cont.
This is a snapshot of where I am now. I was able to kind of fix my previous issue with the conflicting extruded circles and squares.
Now that I have the same form (circle/cylinder), they are still of different heights and widths. But I'm still getting closer to the effect that I want.
This is just what the script looks like before baking, with the curve of reference.
And this is the actual script.
Friday, May 2, 2014
A04 Process
This is the continuation of my process from what I've done earlier (in previous post). My idea for the skin of the building is to mimic the original facade and morph into something more abstract, then into an opening to the museum. I'm trying to figure out how to do this.
Here is what I've done previously but in context, on the actual building.
From a Grasshopper tutorial site, I found how to make forms attract and repel in reference to a line. I thought this could help me achieve my idea. So I added this new script to my existing script, along with a line for reference.
Here's a rendering of that on the building. It didn't work exactly how I wanted it to. In my original script I used circles and extruded them. In the new script it makes extruded squares or rectangular prisms. I tried to take out the circles and add squares to the old part of the script and vice versa to the new part. I wasn't successful. I really want this to work, so I'l work on it some more, and hopefully have figure it out by next week. Below are just some more images of the rendering of them both.
**Also, I used the image sampler on Grasshopper and wanted to use a picture of the actual facade of the existing building but it didn't look as cool as the one I used earlier. So I think I'm gonna stick with that one.
Thursday, May 1, 2014
Portfolio Progess/Draft
Here's two spreads of my portfolio. I just used a template for this, but I am going to personalize it a bit more. However, I do like the plain, clean look of it now.
Friday, April 25, 2014
A04 Process: Image Sampler on Grasshopper
I've been playing around with attractor points and the image sampler on Grasshopper and have come up with some cool ideas for Assignment 4. I started off with the image sampler, and just mimicked what we did in class. Then I extruded the circles, making it more three dimensional. After I figured that out, I wanted to achieve a similar effect with attractor points- altering the height of the now cylinders depending on the distance from a point. It took a little while but I achieved the effect I wanted and even added a second point of reference.
Monday, April 21, 2014
Grasshopper Paneling Exercise: Part 2
This is the second part of the Grasshopper exploration. Similar to the last board, the geometries placed on the surface are manipulated through rotations and scaling. The second matrix shows attractor points. The size of the circles are determined by their distance from the point.
Friday, April 18, 2014
Grasshopper Paneling Exercise: Part 1
For this exercise I created 2 surfaces and 2 forms to go along with each surface. Using Grasshopper in Rhino, I created a box on/around the surface. This box acts as a grid on each surface. The form was placed inside each square of the grid. By manipulating the parameters of the grid, the form morphed accordingly. On this board are a few iterations of the surfaces.
Sunday, April 13, 2014
Grasshopper Paneling Process
For the first surface, I wanted to keep it simple. Using Grasshopper, I made a panel of pyramids on a lofted surface. The next step would be to alter the system in different ways and render them. Before I changed any parameters, I tried to render but had some difficulty. I thought it was the computer but I'm having the same issue on a different computer. For now, I'll continue working and then come back to the rendering.
Monday, April 7, 2014
Diagram of Polymorphism
After reading the article Polymorphosis, we were asked to reread the first page and diagram what we felt were important points.
Grasshopper Exercise
We were recently introduced to the Grasshopper plugin on Rhino. I just made a few 2 dimensional shapes and planes and then experimented a little with other 3 dimensional forms.
Wednesday, March 26, 2014
A03
This is the board I presented for review for A03. For this assignment we had to create a custom screen. Using paneling and Vray rendering tools in Rhino I was able to create a screen. There are some things I would like to fix and plan on fixing in the near future. My renderings are too small and focus too much on the actual screen instead of the shadows that the screen makes on the floor and walls. I will go back through my work and update this soon.
Tuesday, March 25, 2014
A03 Process/Preview
This is a snippet of where I am on A03. I've made an empty room and created a screen on one of the facades of the room. I've still got some work to do on the actual screen and definitely the rendering. I think I need a few more openings in the screen to create more of a pattern or design. It looks a little too random for my liking. I'd like to put my rendering into Photoshop and make a few more adjustments. And maybe I'll add a person or two.
Wednesday, March 12, 2014
A02 *REVISED
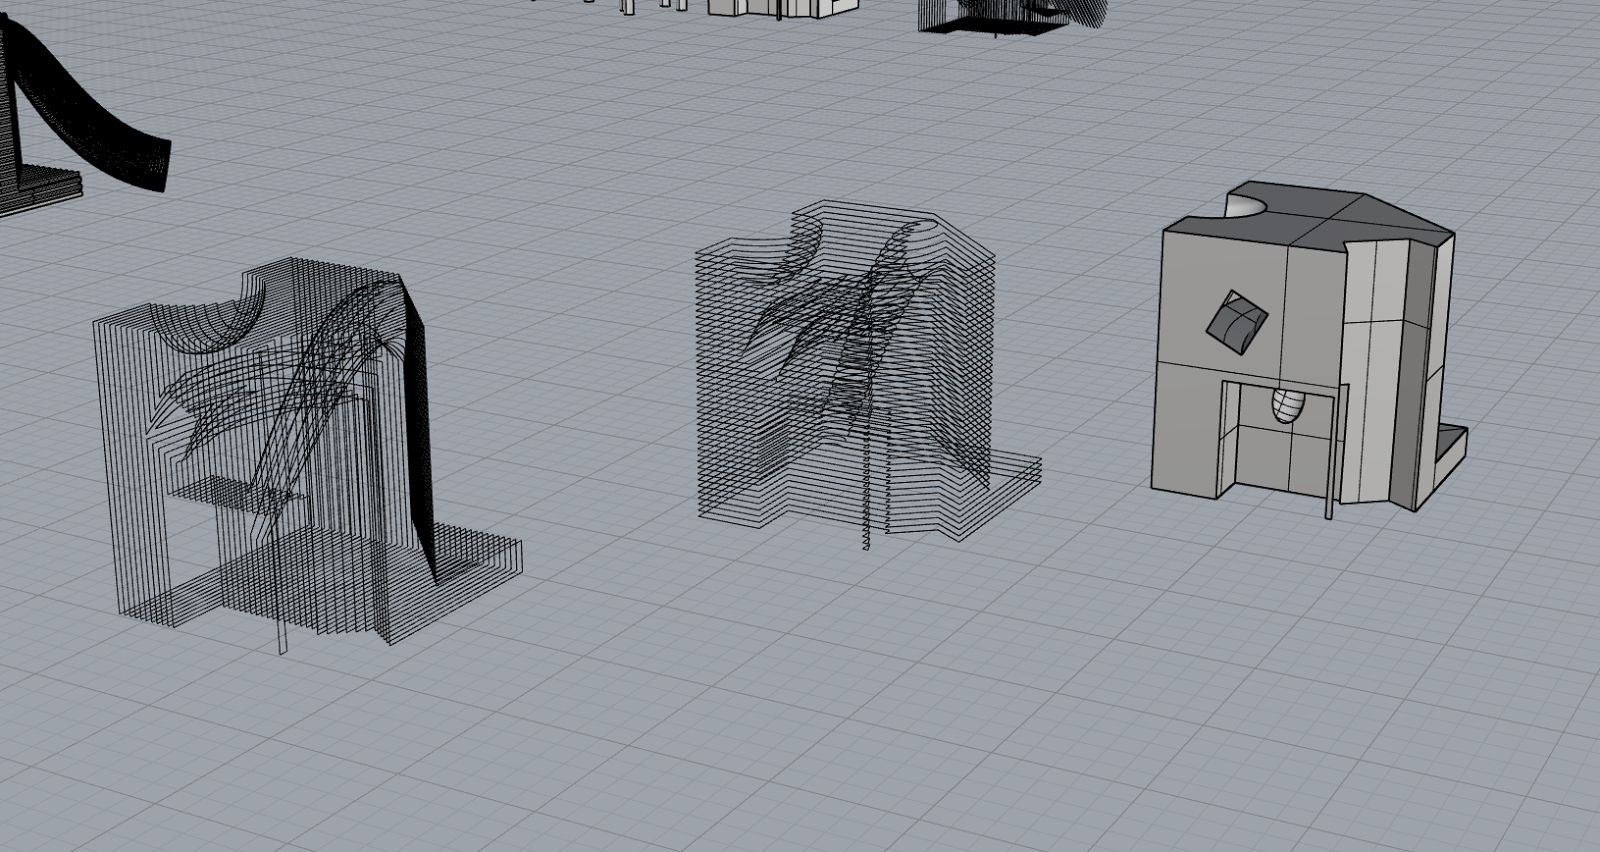
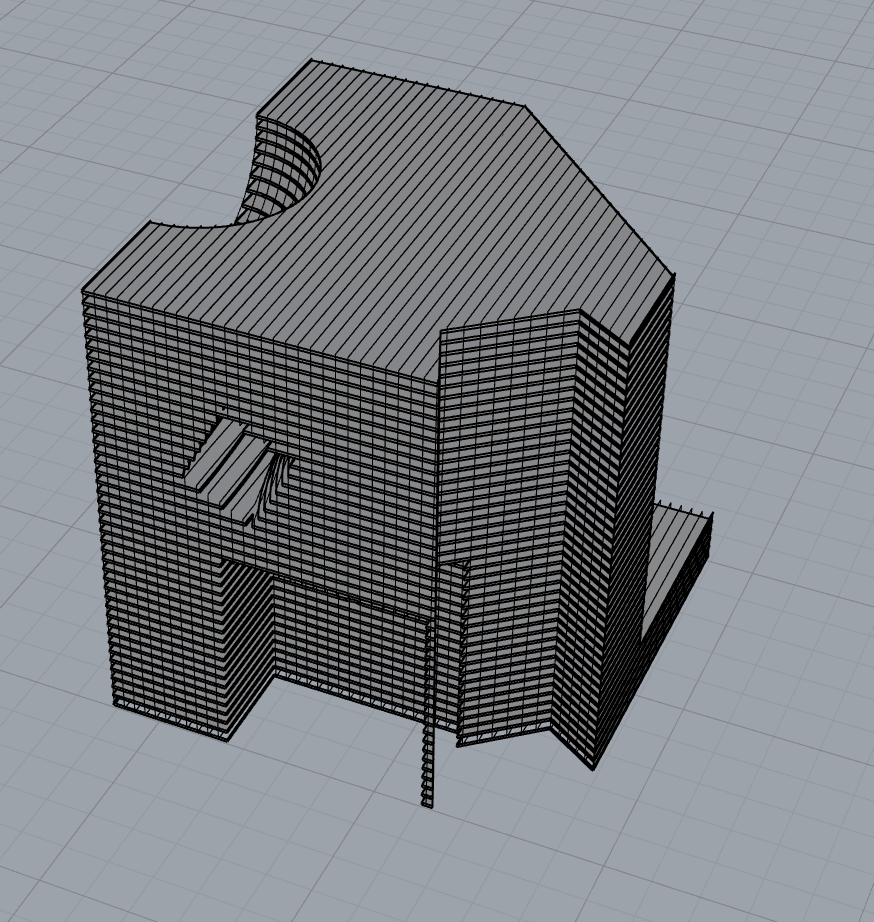
After my review on A02, I went back and fixed my mistakes. I made some changes to my board so it reads more clearly and has less distraction. I also fixed my cube in Rhino. Although I have not modeled the cube again using the laser cutter, I learned from assembling the first cube that I didn't need as many cuts in both the horizontal and vertical sections.
Paneling Tools Exercise: Part 2
The second part of this exercise was to create 3D grid patterns. I used 3 out of the 4 surfaces that I used to make the 2D patterns. Every time I would put a 3D pattern on the sphere it would be too distorted and you couldn't really see the pattern. The sphere just wasn't working, so I created a new surface that worked better.
Paneling Tools Exercise: Part 1
In this exercise we were introduced to paneling tools in Rhino. For this part we made 4 different surfaces and 4 different 2D custom grid patterns. I had a little trouble with my spherical surface. I wanted to put a grid pattern involving circles on it, but because the surface itself is spherical the pattern got a little distorted.
Tuesday, March 4, 2014
A02
This is my final product for A02. I still have some issues with my physical model. It does stand on its on but leans to the side slightly.
A02 Process II
Here is a photo of my laser cut cube for A02. As you can see I'm depending on my water bottle and bottle of hand sanitizer to keep it standing. While constructing it in Rhino I didn't realize I would need more support sections for it to stand freely. My next step is to go back and add a few more sections to make it more stable.
Monday, February 24, 2014
A02 Process
Wednesday, February 12, 2014
A01_The Cube
Starting with a solid cube, I went through a series of manipulations using curve, surface, and solid editing tools in Rhino. Then I exported my series of cubes into Adobe Illustrator and created diagrams that highlighted each change I made and solid/void diagrams.
Subscribe to:
Comments (Atom)


